There’s something rather special about a first birthday isn’t there? Turning one is such a milestone and warrants a certain amount of effort on the party front…Even if they won’t remember it!
Last month I was given the opportunity to plan and host my Grandsons 1st Birthday party. (You can just imagine my excitement!) It was to be a small family affair and (as we were in the middle of some major refurbishment in the house) it would be a little compromised as space (and time!) was limited. The hallway being light and airy with a view of the garden (and the only room unaffected by all the upheaval) seemed the obvious (if not the only) choice as the party area. As it happens, it worked so well, it’s likely to be used again!
To my absolute joy I was given reign to come up with any theme I wanted and already knowing what this would be, ideas began to hop around in my head. What else could it be but a traditional Peter Rabbit Party!

And I was in my element! From home-made bunting to marshmallow bunny tails, veg pots and a cauliflower tissue paper centerpiece, coming up with ideas and putting it all together was the most fun I’ve had in ages! Now not that there weren’t some challenges… Planning around building works, running a business from home, working out party food for a dairy free one year old and the usual family melt downs is no mean feast! I literally had 2 days in total to plan, organise and implement it! Never one to say no to a challenge, there was nothing for it but to make a list and hop to it! Having a limited amount of time to plan certainly makes you focus and if I do say so myself…It went pretty well! That is, if we overlook the Rabbit Jelly that didn’t want to leave its mould and when it did, looked a bit like road kill!
But moving swiftly on… If you’re thinking of hosting a Peter Rabbit Party too it really is such fun and has so much scope for being creative. Given longer I would have done much more but if (like me) you need to create something and you’re pushed for time, here’s just a few tips and ideas that work a treat!
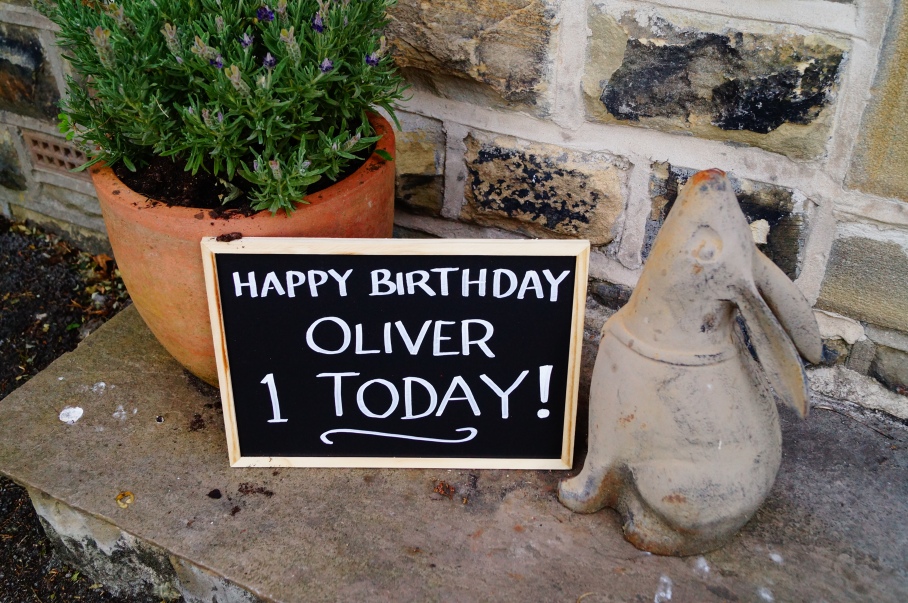
No time to order anything online, I chose to go for a cost effective personalised welcome to guests by buying a chalk board and writing my own message on it. Then just a wipe clean and totally reusable for another day! (Chalkboard a real find at just £1 from poundland!)

Making your own bunting to fit your theme is so easy and cost effective. For this one I hole punched some Peter Rabbit postcards I already had and thread co-ordinating ribbon through. You could however print images or buy a cheap book and take pages out and use instead.

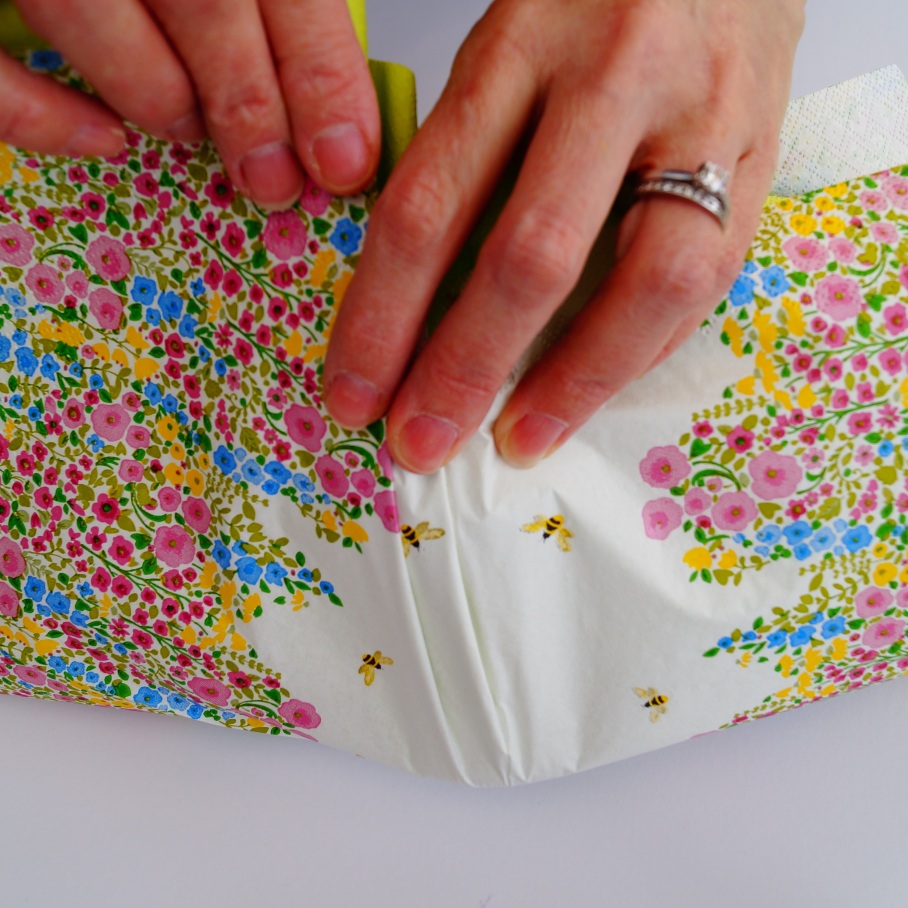
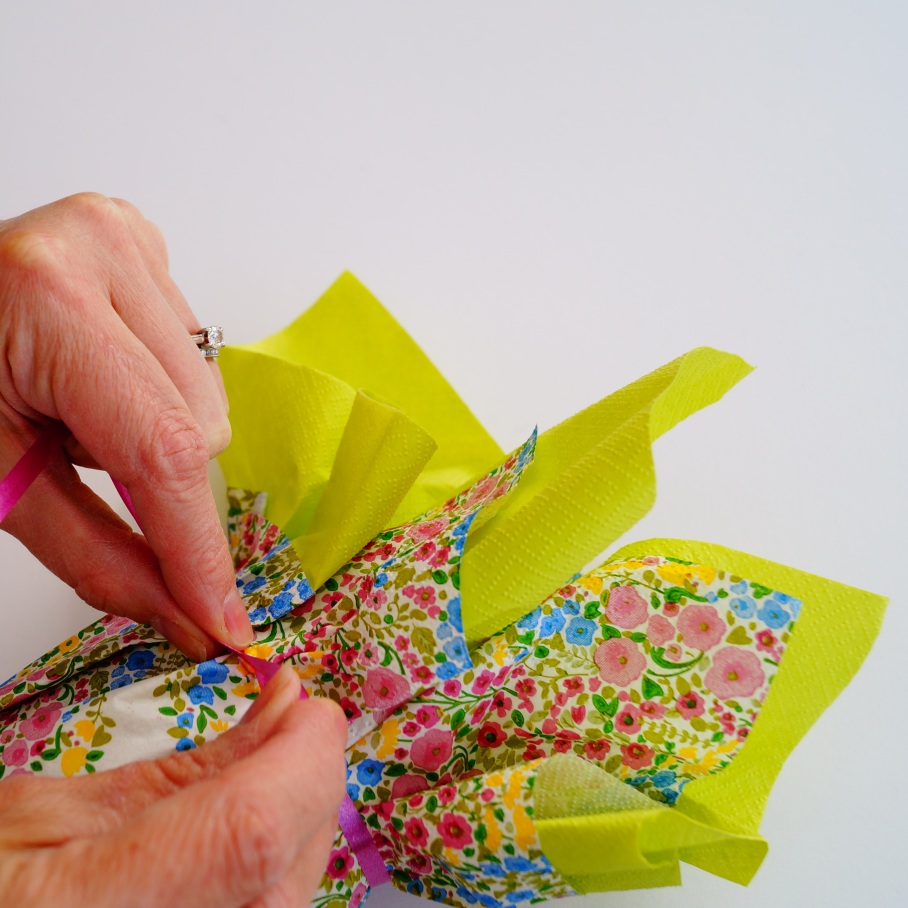
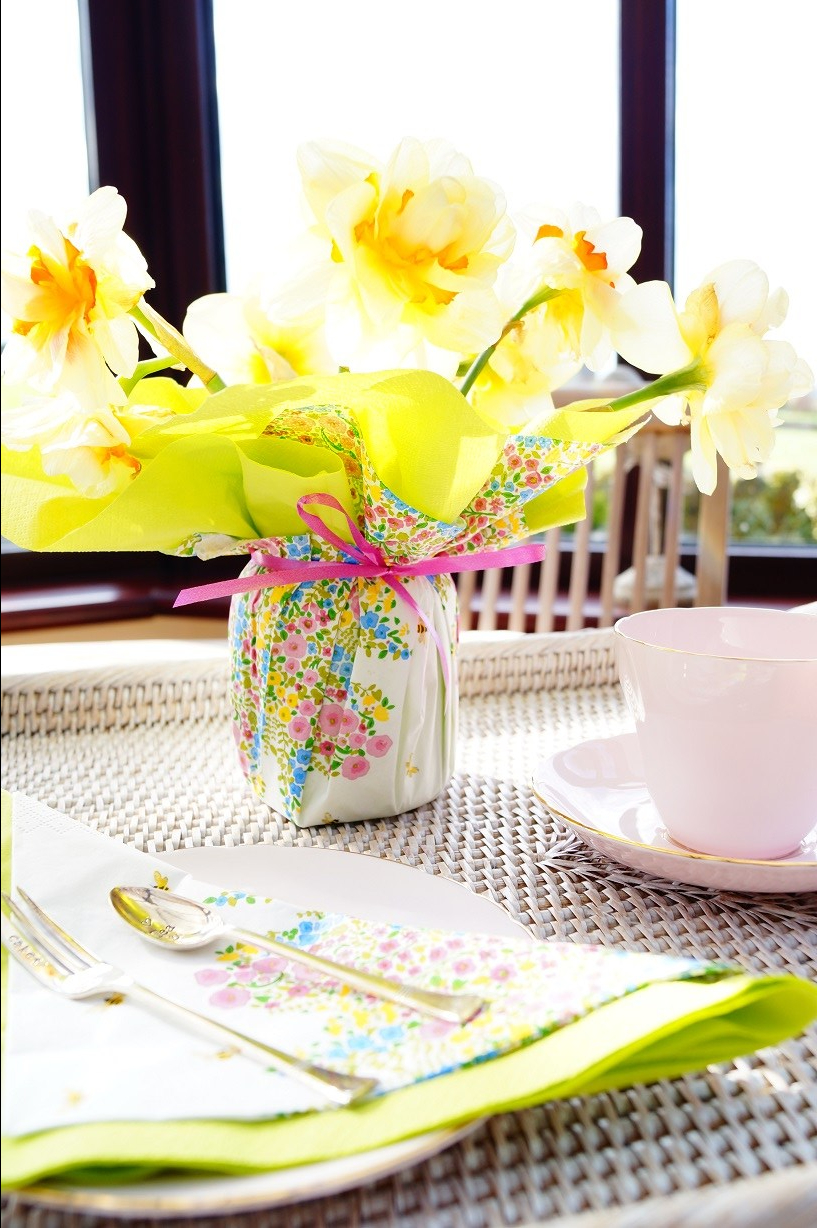
Table decorations included: A Cauliflower made of tissue paper, a clay pot which housed veg for nibbling on and Peter Rabbit Wooden shapes – I preferred these to paper ones as they were part of a shape sorter toy (purchased at M&S) and could then be reused in the toy box afterwards!

The buns were made with diary free margarine (Tesco) and decorated to fit the theme with sugar carrots/paper bunnies. To save time I placed pretty coloured biscuits in a jar that could be easily moved from kitchen to table then back again.

As Oliver is a big fan of raisins I incorporated them into our scheme….well it’d be rude not to! Bunny droppings seeming the obvious choice. I used white marshmallows for bunny tails!

It wouldn’t be a traditional party without Jelly and it certainly gave us all a laugh after it failed to hop out of the mould without lots of coaching and then when it did , it looked a little worse for wear. My elderly Mum and Dad were thrilled to pieces.. Took them right back to their childhood!

Birthday Boy not quite as taken with the rabbit jelly. Somethings are, after all, an acquired taste. Happy First Birthday my gorgeous Grandson…You may not remember your special day but it was a day made out of love for Grandmas very special baby bunny…YOU! x
Thank you for reading our blog, we really hope you’ve enjoyed it. We are a gift and gift wrapping company and teach lots of creative skills at our workshops. Information can be found at http://www.moreprettythings.co.uk


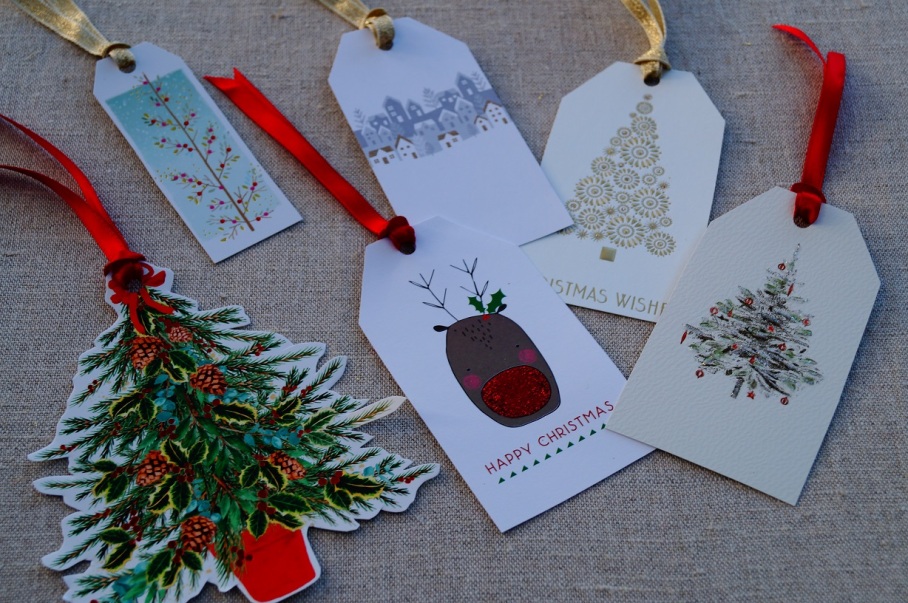
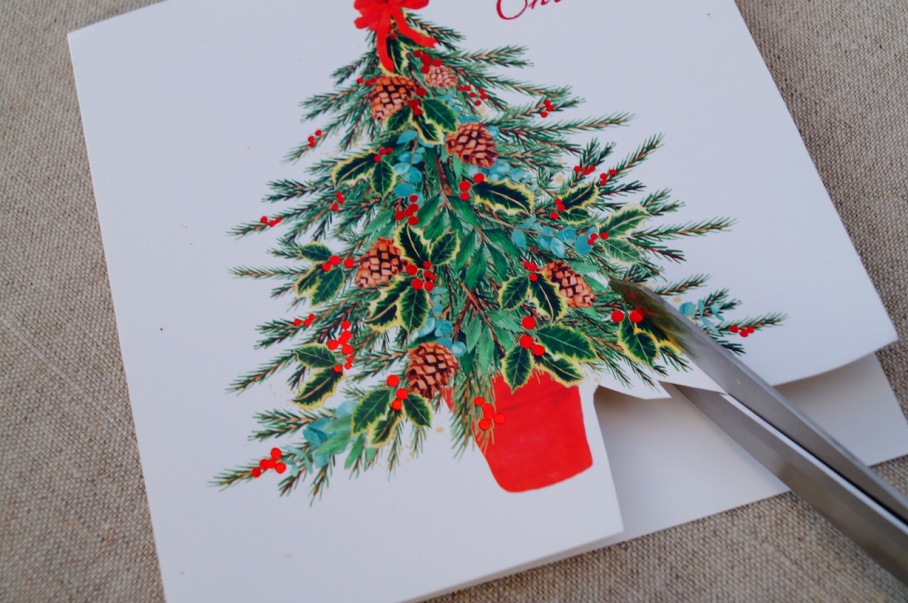 Then there’s the easiest way I know and that’s using a luggage label as a template to draw around the chosen picture and then just follow the lines to cut it out. If you’re not confident in cutting straight then a craft trimmer or guillotine can be most helpful!
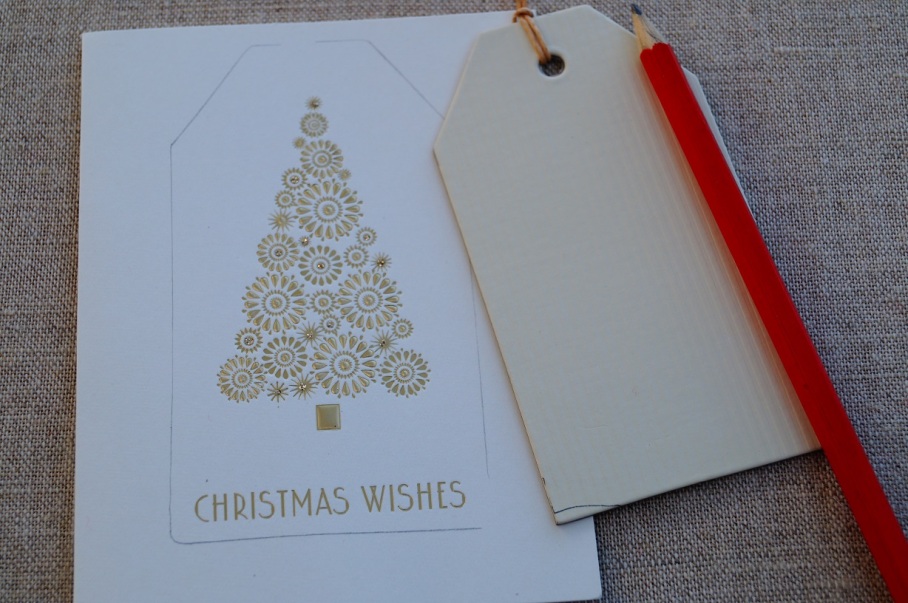


You must be logged in to post a comment.