
It’s been some time since the pom pom was ranking top of the craft slot but thanks to a new surge in focus from the fashion and interior design industry, these little sphere’s of retro fluff have been making a well earned come back!
As a child of the 70’s I remember them well, it was the era of pom pom back then! I loved them then and I still do today…And who doesn’t, even Winnie the Pooh likes to ‘tiddly pom pom pom’! They have such a happy vibe about them and having been taught the skill of making them by my sister all those years ago, I’ve never forgotten it. Over the years (in fashion, or not) I’ve made many a cute ball of fluff which has found itself sewn on the odd scarf or cushion to give it some personality, or created something seasonal with them for the home…Not to mention using them as a decorative touch in wrapping to give some colour or quirkiness to a gift!
These days, with time being so precious though, the old way of making them just isn’t viable for me. For those not so familiar with the technique, it had a rather lengthy process of cutting out cardboard rings and winding wool around until you couldn’t see the middle anymore. So now, I use a perfected shortcut method which I find perfectly suitable for making purely ‘decorative pom poms’ and whilst they may not be quite as robust as the original, they’re so much quicker, meaning I can make mountains of them in just 10 minutes! Oh if only I knew that then (although as kids it did keep us quiet and out of trouble and so i guess it served its purpose!!)
So if you don’t know how to make them or only know the old lengthy way of making them, then do read on and I’ll show you my new quick and easy method…Along with (of course) some of our own decorative ideas on how we’ve use them!
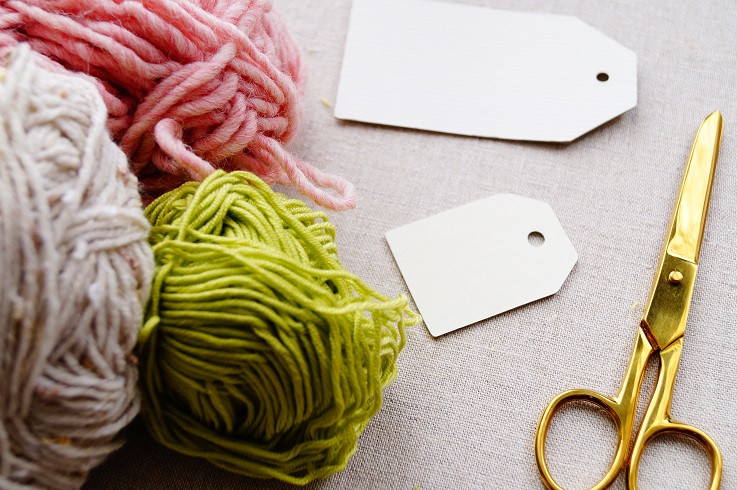
What you’ll need: Some wool (we’ve just used any we had left over in our craft basket), a piece of cardboard (or you can just use your fingers!) and some sharp scissors…And that’s it!
Step 1) Start off by winding your chosen wool around a piece of cardboard – We’ve used a rigid luggage tag (we use various sizes of tag to get different pom pom sizes) but you can use any cardboard or just your fingers if you prefer (works just as well!)


Step 2) Keep winding the wool until you feel it’s sufficient – the amount of wool needed will depend on the size of your cardboard tag and how fluffy you’d like the pom pom to be but certainly you need a fair bit and with practice you’ll get a dab hand at gauging it! Once you’re happy with the amount, remove the wool from the cardboard and secure around the middle with a small piece of wool – Ensure you tie it nice and tight – double knot! (or your wool will simply fall out once it’s cut.)


Step 3) Cut through all the wool loops (top and bottom) ensuring you don’t cut through the wool you’ve tied it together with. This should leave you with a sort of raggedy pom pom …To get a more rounded version simply trim with scissors as desired!


Ah, and there you have it…A quick and easy pom pom! You now just have to decide what to do with it!
Here’s just a few of our own Springtime favorites and for more pom pom inspiration why not visit us on pinterest! Click here to go directly to our ‘wool’ inspiration board (or find us at https://www.pinterest.co.uk/lovewrapping


You must be logged in to post a comment.